

- 一. 前言
- 二. 接下来就是搭博客的过程
- 三、大功告成
一. 前言
开学之初,我发现Azure上有一个100刀的学生优惠。但在领取这个优惠之后,我却一直没有使用的机会,一是自己不会用,二是没有多余的时间。现在等来了放假,终于可以好好搞一搞了。:joy:
这次搭博客可谓是踩了不少坑:
- 百度的教程基本上都是废的,只有谷歌的英文教程才是能用的,好气啊
- apache2是真难用
- php各个版本让人混乱
二. 接下来就是搭博客的过程
1、进入Azure的门户,添加一个Ubuntu的主机,学生优惠的主机为B1S,我使用的是公钥登陆,生成公钥的过程就不说了


2、在网络安全组的入站规则中添加443和80端口
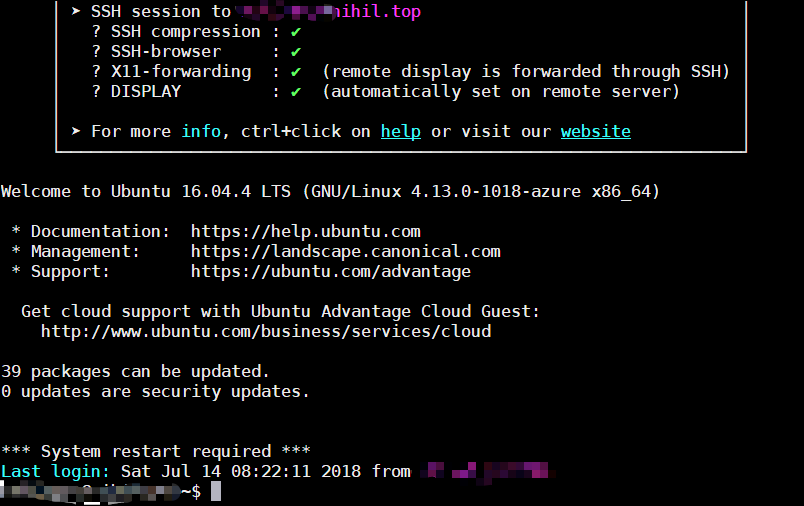
3、接下来是连接主机。可以使用PuTTY或者是MobaXterm,输入ip和用户名,再加上私钥就可以连接了。
4、安装Nginx
sudo apt-get update
sudo apt-get install nginx
安装完成后可以用以下命令操作nginx
sudo systemctl stop nginx.service
sudo systemctl start nginx.service
sudo systemctl enable nginx.service
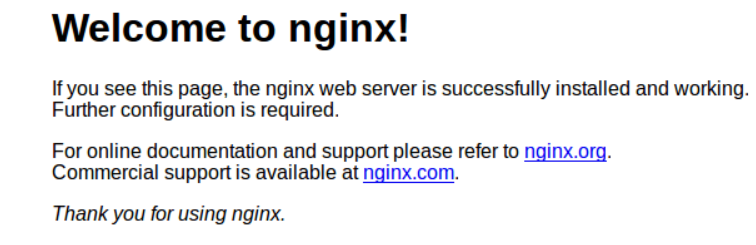
打开网页看看是否有这样的页面出现,如果有的话就可以进行下一步操作了
5、安装MariaDB
sudo apt-get install mariadb-server mariadb-client
对于Ubuntu 16.04有以下命令
sudo systemctl stop mysql.service
sudo systemctl start mysql.service
sudo systemctl enable mysql.service
输入
sudo mysql_secure_installation
然后进行以下操作
Enter current password for root (enter for none): Just press the Enter
Set root password? [Y/n]: Y
New password: Enter password
Re-enter new password: Repeat password
Remove anonymous users? [Y/n]: Y
Disallow root login remotely? [Y/n]: Y
Remove test database and access to it? [Y/n]:  Y
Reload privilege tables now? [Y/n]:  Y
测试以下密码是否能登陆
sudo mysql -u root -p
6、安装PHP7.2 / PHP-FPM
sudo apt-get install software-properties-common
sudo add-apt-repository ppa:ondrej/php
sudo apt update
sudo apt install php7.2-fpm php7.2-common php7.2-mbstring php7.2-xmlrpc php7.2-soap php7.2-gd php7.2-xml php7.2-intl php7.2-mysql php7.2-cli php7.2-zip php7.2-curl
7、重启nginx和php
sudo systemctl restart nginx.service
sudo systemctl restart php7.2-fpm.service
8、创建WordPress的数据库
sudo mysql -u root -p
    CREATE DATABASE yourDBname;
    CREATE USER 'yourDBusername'@'localhost' IDENTIFIED BY 'new_password_here';
    GRANT ALL ON yourDBname.* TO 'yourDBusername'@'localhost' IDENTIFIED BY 'user_password_here' WITH GRANT OPTION;
    FLUSH PRIVILEGES;
    EXIT;
9、安装wordpress
cd /tmp && wget https://wordpress.org/latest.tar.gz
tar -zxvf latest.tar.gz
sudo mv wordpress /var/www/html/wordpress
sudo chown -R www-data:www-data /var/www/html/wordpress/
sudo chmod -R 755 /var/www/html/wordpress/
10、配置http服务
我用的是vim
sudo vim /etc/nginx/sites-available/wordpress
找到这个东西的位置, 将example.com 换为自己的网址
server {
    listen 80;
    listen [::]:80;
    root /var/www/html/wordpress;
    index  index.php index.html index.htm;
    server_name  example.com www.example.com;

     client_max_body_size 100M;

    location / {
        try_files $uri $uri/ /index.php?$args;
    }

    location ~ \.php$ {
         include snippets/fastcgi-php.conf;
         fastcgi_pass unix:/var/run/php/php7.2-fpm.sock;
         fastcgi_param SCRIPT_FILENAME $document_root$fastcgi_script_name;
         include fastcgi_params;
    }
}
PHPCopy
11、开启网站
sudo ln -s /etc/nginx/sites-available/wordpress /etc/nginx/sites-enabled/
12、对网站进行配置
1)先是将示例配置文件复制一份
sudo mv /var/www/html/wordpress/wp-config-sample.php /var/www/html/wordpress/wp-config.php
2)获取secure key,打开下面的网站。
https://api.wordpress.org/secret-key/1.1/salt/
3)再进行配置
sudo vim /var/www/html/wordpress/wp-config.php
// ** MySQL settings - You can get this info from your web host ** //
/** The name of the database for WordPress */
define('DB_NAME', 'yourDBname');

/** MySQL database username */
define('DB_USER', 'yourDBusername');

/** MySQL database password */
define('DB_PASSWORD', 'user_password_here');

/** MySQL hostname */
define('DB_HOST', 'localhost');

/** Database Charset to use in creating database tables. */
define('DB_CHARSET', 'utf8');

/** The Database Collate type. Don't change this if in doubt. */
define('DB_COLLATE', '');
PHPCopy
4)再找到secure key的相应位置,将自己获取到的key放进去
不要直接复制!!!
define('AUTH_KEY',         'zP}sLq>K[Q}6+-QS !Fc,wBD%373RYo.C<c=%lnE.!xY:kloSyJ@qIQ`2iVy{Sd[');
define('SECURE_AUTH_KEY',  'Zrw|4{)0]tE}bcHa8@nwM]SC:17b}-IDd)Z%1d}a}cMqI}h@|Kf>oLRL`pXdySLN');
define('LOGGED_IN_KEY',    ',Nl,:NNP+R)%Y$gjpOI8~X?<;?}eTvaI4;l?T@S}V]BwsNT{*e!y.YB^#X=QI@qx');
define('NONCE_KEY',        'n2Z2|H>r|-C-y(yzG*-1btopL;N|);8lZQvIP( Dhy}xtc2vs#(2#ec,C%])Bf~[');
define('AUTH_SALT',        '>`nL:waCX!k~-(9!A2.?PJpKd&,D[r}w(i;~Ck^q1M`YCWF2.fTR%;V7_+}QI76 ');
define('SECURE_AUTH_SALT', 'nshMJqJv2Z_EVt|Wtw?qJCI6N&>^{L-.ig(]Pc.3M!*,sR8i[WZg.5pQP1-t8a$z');
define('LOGGED_IN_SALT',   '-nDGM,|-PWtNy02}0r^,rsJlC5#si%W{@6W]<<#PR}T)9Izv7Rc[]HKk`yk)1v38');
define('NONCE_SALT',       'QzZF]GjCkgNC;,m&jc=~gX-gWo^oUj{W]N+s5-kG?Fq?KQ^ESNhI<+xa-m+;e|?(');
13、配置ssl
1)安装 Let’s Encrypt Client
sudo add-apt-repository ppa:certbot/certbot
sudo apt-get update
sudo apt-get install python-certbot-nginx
2)获取免费的ssl证书
将example.com 全部更换为自己的域名
sudo certbot --nginx -m admin@example.com -d example.com -d www.example.com
3)接下来的东西按照步骤走
Please read the Terms of Service at
https://letsencrypt.org/documents/LE-SA-v1.2-November-15-2017.pdf. You must
agree in order to register with the ACME server at
https://acme-v01.api.letsencrypt.org/directory
-------------------------------------------------------------------------------
(A)gree/(C)ancel: A


Would you be willing to share your email address with the Electronic Frontier
Foundation, a founding partner of the Let's Encrypt project and the non-profit
organization that develops Certbot? We'd like to send you email about EFF and
our work to encrypt the web, protect its users and defend digital rights.
-------------------------------------------------------------------------------
(Y)es/(N)o: Y


Please choose whether or not to redirect HTTP traffic to HTTPS, removing HTTP access.
-------------------------------------------------------------------------------
1: No redirect - Make no further changes to the webserver configuration.
2: Redirect - Make all requests redirect to secure HTTPS access. Choose this for
new sites, or if you're confident your site works on HTTPS. You can undo this
change by editing your web server's configuration.
-------------------------------------------------------------------------------
Select the appropriate number [1-2] then [enter] (press 'c' to cancel): 2
最后一个一定要选择2
4)重新对配置文件进行配置
sudo nano /etc/nginx/sites-available/wordpress
server {
    listen 80;
    listen [::]:80;
    root /var/www/html/wordpress;
    index  index.php index.html index.htm;
    server_name  example.com www.example.com;

     client_max_body_size 100M;

    location / {
        try_files $uri $uri/ /index.php?$args;
    }

    location ~ \.php$ {
         include snippets/fastcgi-php.conf;
         fastcgi_pass unix:/var/run/php/php7.2-fpm.sock;
         fastcgi_param SCRIPT_FILENAME $document_root$fastcgi_script_name;
         include fastcgi_params;
    }

  listen 443 ssl; # managed by Certbot
    ssl_certificate /etc/letsencrypt/live/example.com/fullchain.pem; # managed by Certbot
    ssl_certificate_key /etc/letsencrypt/live/example.com/privkey.pem; # managed by Certbot
    include /etc/letsencrypt/options-ssl-nginx.conf; # managed by Certbot
    ssl_dhparam /etc/letsencrypt/ssl-dhparams.pem; # managed by Certbot

    if ($scheme != "https") {
        return 301 https://$host$request_uri;
    } # managed by Certbot

    # Redirect non-https traffic to https
    # if ($scheme != "https") {
    #     return 301 https://$host$request_uri;
    # } # managed by Certbot

}
三、大功告成
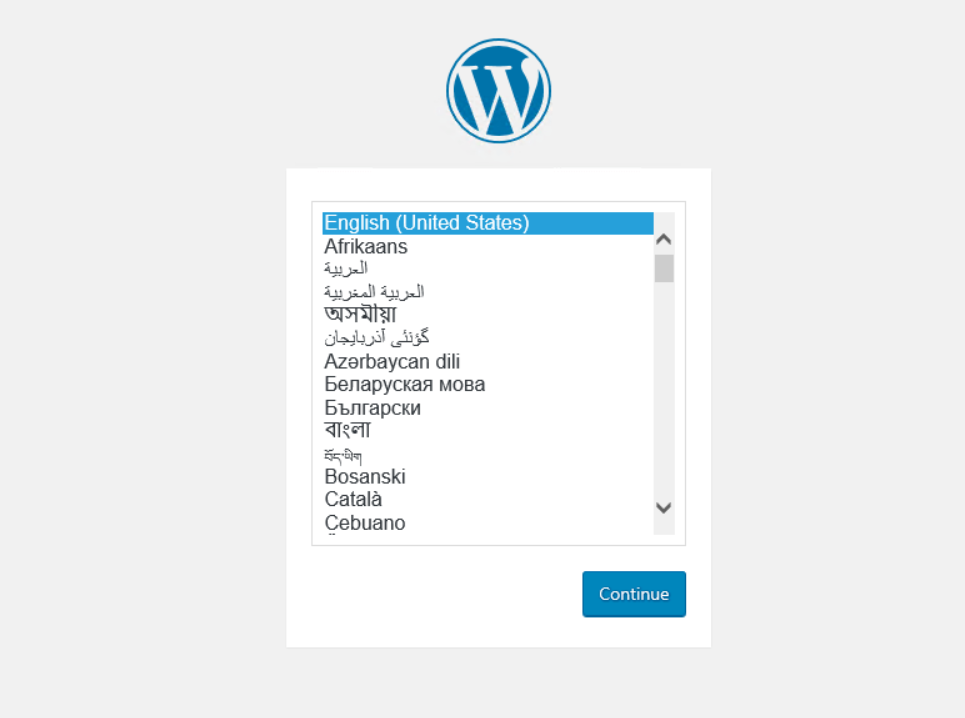
直接打开你的网址,看看是否出现这个页面,出现了就说明成功啦
主题测试文章,只做测试使用。发布者:云大使,转转请注明出处:https://www.xp8.net/web/737.html
 微信扫一扫
微信扫一扫